Wood Care Tips
Below is a copy of our basic wood care tips & info.
We lovingly handcraft our wooden items to last.
These tips will help you keep your items looking fantastic for years to come,
we will also be adding some useful information on how to care for other wooden items in your home and even some restoration tips for our to deal with those unfortunate dings or bumps that life can through at timber.
Caring for Your Handcrafted Timber Indoors / Homewares
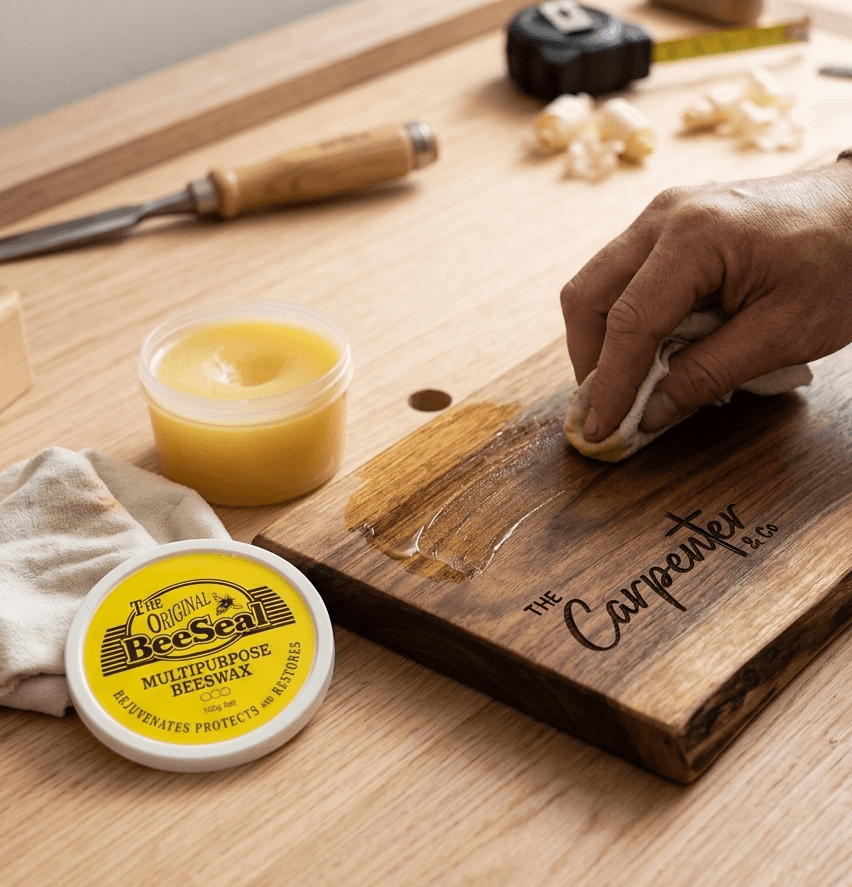
At The Carpenter & Co, we believe in quality over quantity. Your bespoke item has been handmade with care and finished with a natural beeswax to highlight the grain and provide a professional, warm feel.
To ensure your piece lasts for years to come, please follow these simple care instructions:
Cleaning & Daily Use
Keep it Dry: Use a damp cloth for cleaning.
Common Sense Care: Never submerge your wooden products in water or place them in a dishwasher, as this will damage the natural fibres and finish.
Avoid Excess Heat: Keep your timber items away from direct heat sources to prevent warping.
Maintenance & Restoration
Refresh the Glow: Over time, the natural beeswax finish may dull. To restore its original condition, simply re-apply a gentle beeswax wood polish
Avoid using vegetable oils as these can turn rancid. You can use either a good quality beeswax-based board conditioner or an MCT coconut oil.
(Ensure it is not pure coconut oil, The MCT is fractionated to ensure it doesn't turn rancid)
There is a lot of debate about Mineral oils and Tung oil but we like to keep it simple and natural by using simple food safe options that enhance your timbers natural beauty.
Buff to a Sheen: Use a soft, dry cloth to buff the wax until you reach the desired sheen.
There are many good waxes / polishes and oils available and the simpler the ingredient list the better. Your local homeware ore hardware store likely has good options available just be sure to check what's in them.
Genuine Supplies: The same high-quality wax we use in our workshop is available for purchase directly from our website.
We use BeeSeal on all our indoor products & boards and love it. Its what we use and prefer both in our business and our own home. You can buy direct from BeeSeal or via our website.
We are not paid to promote BeeSeal we simply love the product.
Check back for more tips coming soon, along with care tips for outdoors timber slabs and signs

Caring for Your Handcrafted
Outdoor Timber
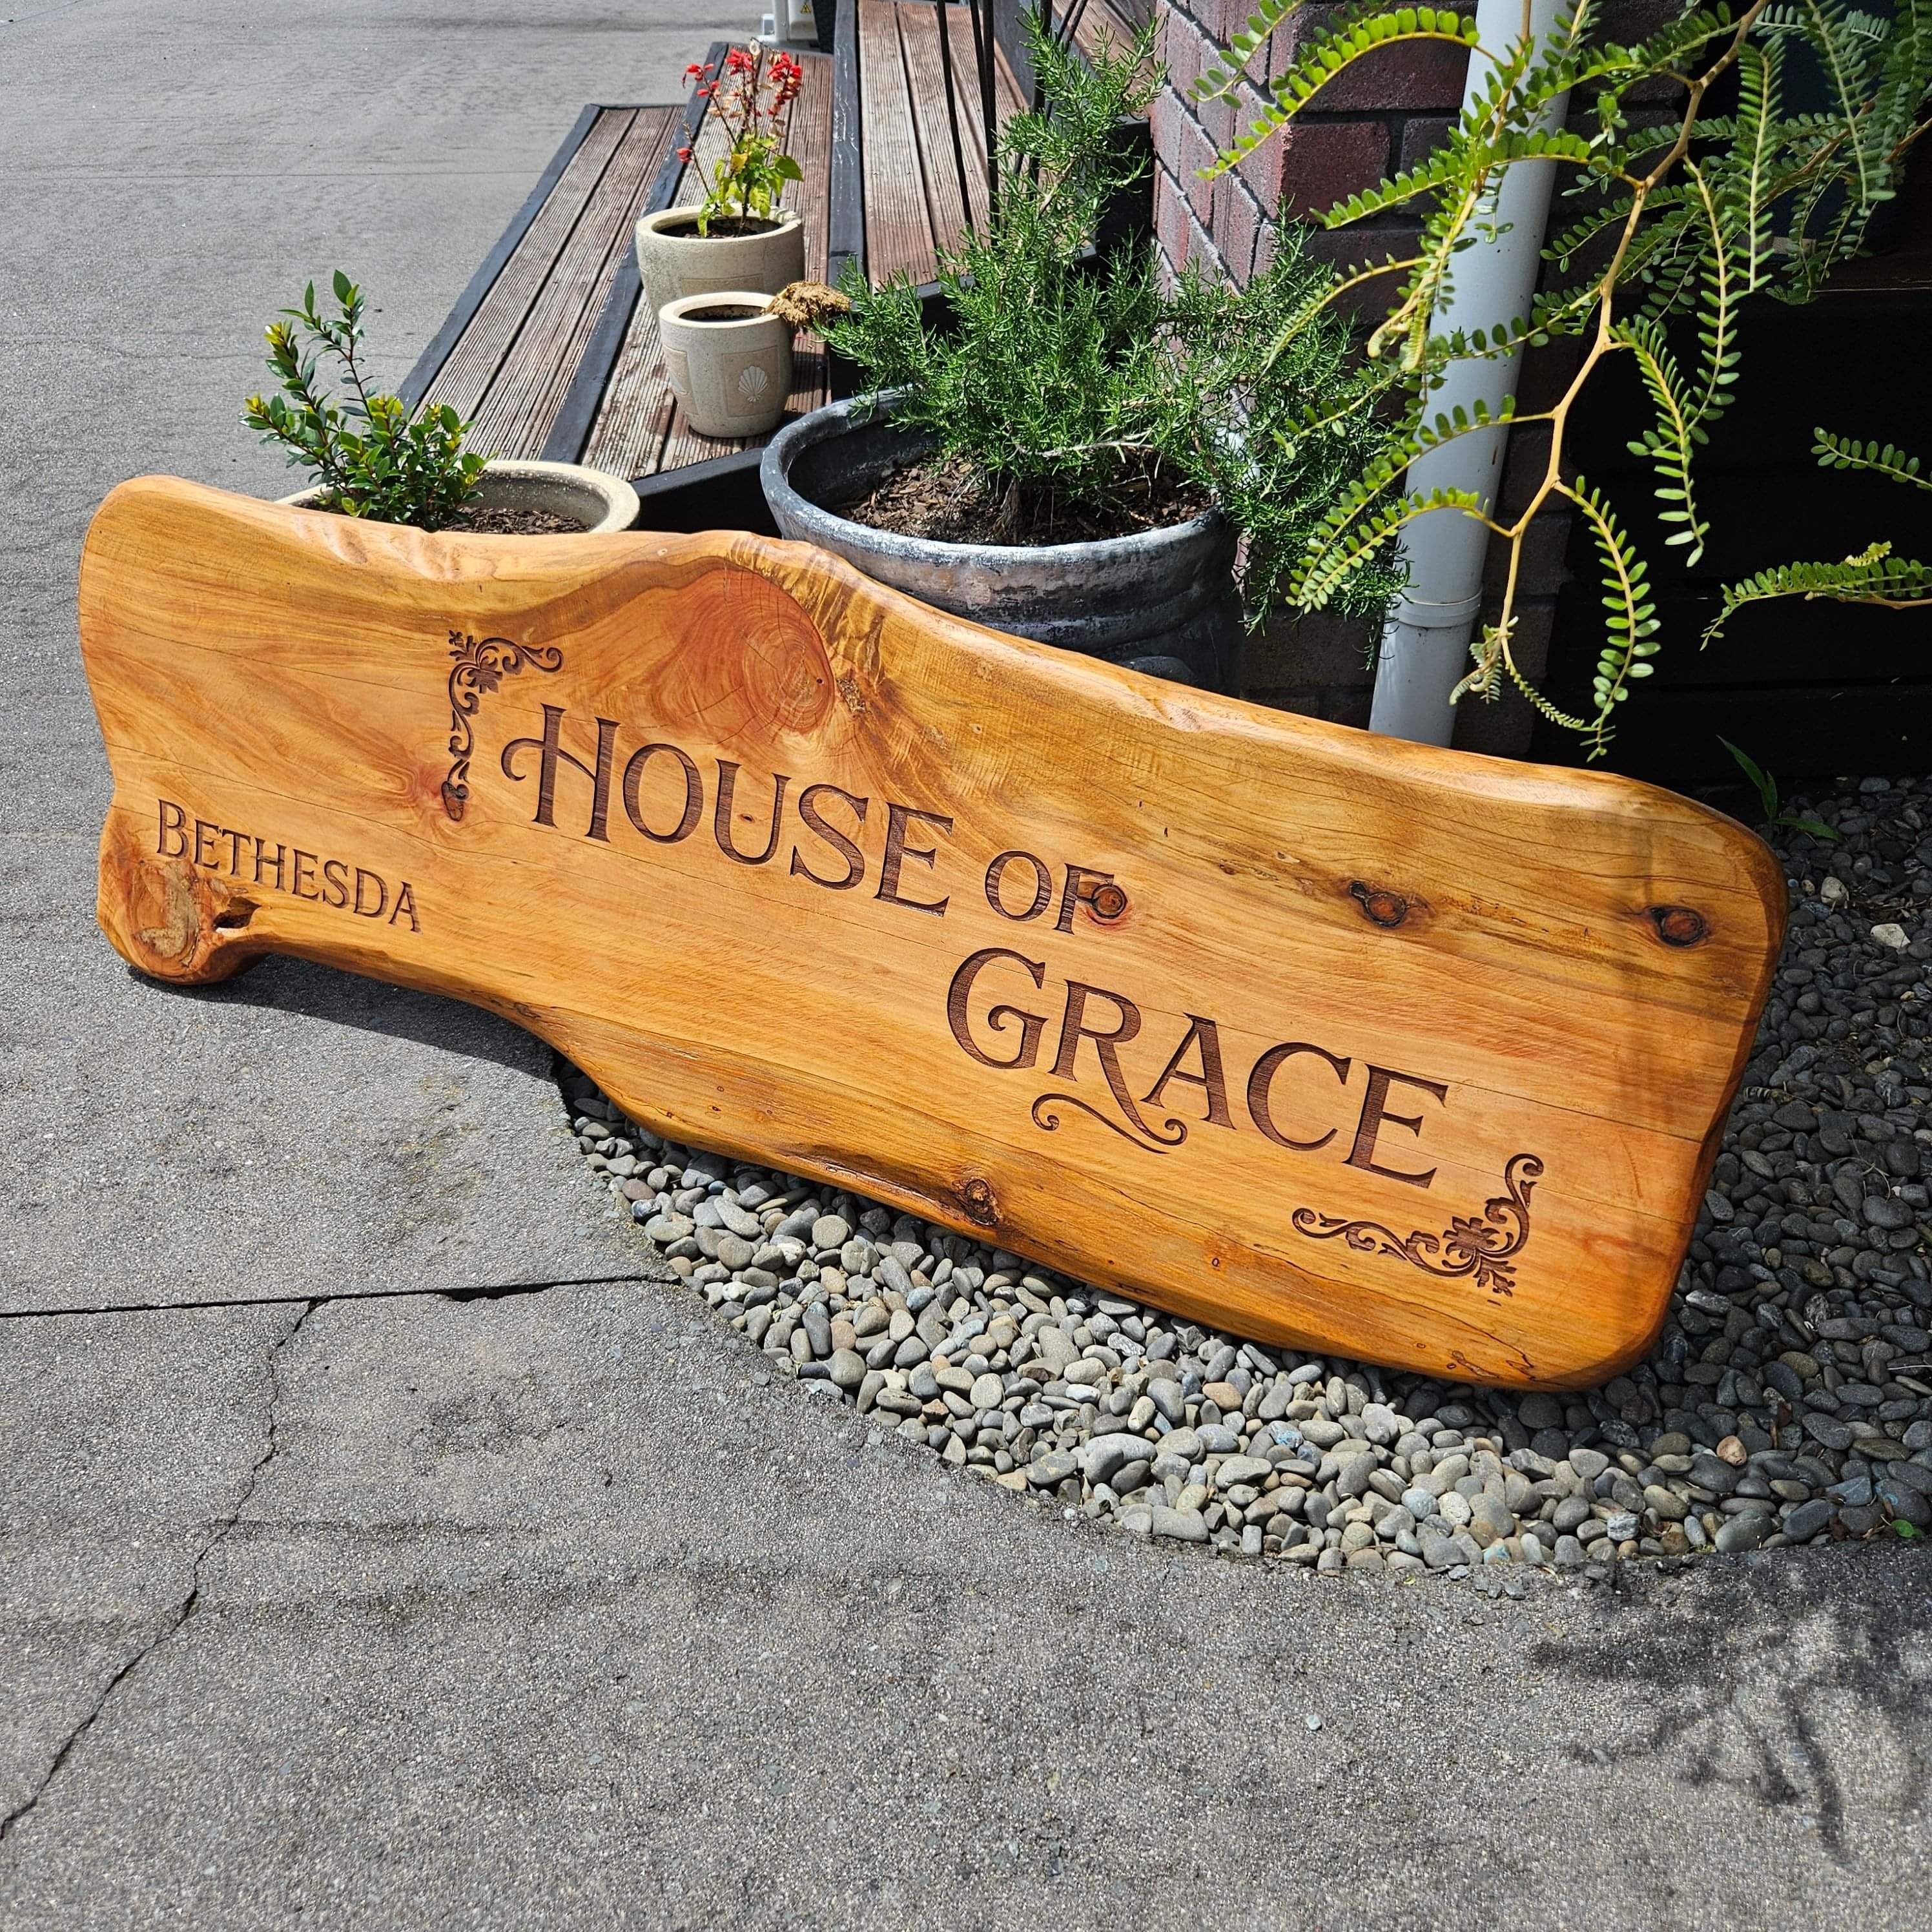
Thank you for choosing our handcrafted outdoor timber products!
We select timber species that are naturally resistant to weather and rot, ensuring your piece is built to last. Before it reaches you, your item has been pre-treated with a premium, durable outdoor oil stain. This finish not only enhances the beautiful natural color and grain of the wood but also seals out moisture.
However, the harsh New Zealand sun and weather will eventually wear down any finish. As with all outdoor timber, your piece will need periodic re-oiling to keep it sealed, protected, and looking its absolute best.
Here is your complete guide to maintaining your outdoor timber.
1. Routine Cleaning
Keeping your timber clean prevents dirt and grime from breaking down the oil finish prematurely.
Regular Wash: Clean the timber simply using fresh water and a stiff bristle brush (avoid wire brushes as they can damage the wood fibers).
Deep Clean: For tougher dirt or seasonal cleaning, use a specialized outdoor timber cleaning product. Follow the product's instructions, scrub gently, and rinse thoroughly with a hose.
Let it Dry: Always allow the timber to dry completely before attempting any sanding or re-oiling.
2. Knowing When to Re-oil
A good rule of thumb in New Zealand is to check your outdoor timber every 6 to 12 months (usually before summer and before winter).
The Water Test: Sprinkle a few drops of water onto the timber. If the water beads up, your seal is still good. If the water soaks right into the wood, it is time for a fresh coat of oil.
3. The Re-oiling Process
When it is time to rejuvenate your piece, follow these simple steps:
Prep the Surface: Ensure the timber is completely clean and dry using the cleaning methods above.
Lightly Sand (If Needed): If the wood has raised fibers, rough patches, or stubborn stains, give it a light sand using medium-to-fine sandpaper (around 120-grit). Always sand with the grain of the wood, never across it. Wipe away all dust with a dry cloth.
Choose Your Oil: We highly recommend and use Wattyl oils on most of our outdoor timber. Look for a high-quality outdoor timber oil or oil stain that offers UV protection.
Apply the Coat: Using a clean brush or rag, apply the oil evenly along the grain. Do not let the oil pool in one spot.
Wipe Excess & Dry: Allow the oil to penetrate for the time specified on the tin (usually 15–30 minutes), then wipe off any excess with a clean, lint-free cloth. Allow it to dry completely before using the furniture.
Extra Tips for NZ Conditions
Embrace the Fade: If you choose not to re-oil your timber, it will naturally weather to a stunning silvery-grey patina over time. However, regular oiling is still recommended to prevent the wood from cracking or warping in extreme weather.
Winter Care: If possible, move smaller outdoor pieces under a covered patio or eaves during the wettest, coldest winter months to prolong the life of the finish.
What Oil or Stain?
Our Recommended Products
To get the exact same finish and protection we apply in our workshop, we recommend using the Wattyl Forestwood range. These products are specifically formulated to withstand harsh UV rays and heavy rainfall.
When you head to your local hardware store (like Mitre 10, Bunnings, or a Wattyl Trade Centre), here is what to look for:
Wattyl Forestwood Decking & Timber Oil: Ideal for nourishing the wood and keeping it supple. It penetrates deeply to repel water and prevent cracking.
Wattyl Forestwood Traditional Oil Stain: If your piece originally had a tinted color (rather than just clear oil), this is what you need. It offers the same nourishing properties as the oil, but adds a semi-transparent color that enhances the grain and provides superior UV protection.
Oil-Based vs. Water-Based Finishes: What is the Difference?
When shopping for timber care products, you will notice finishes generally fall into two categories: oil-based and water-based. While both protect your timber, they behave quite differently.
Crucial Reminder: Always Match Your Finishes! It is extremely important that you recoat your timber with the same type of base that was previously used. Do not apply a water-based product over an oil-based finish (or vice versa) without completely stripping and sanding the timber back to bare wood first. The new coat will not adhere properly, leading to peeling, flaking, and a sticky mess.
See guide below for comaparison of Oil & Water based options
Pro Tip for Purchasing: If you are unsure whether your product was finished in a clear oil or a specific stain color, just get in touch with us! We are happy to check our records and point you toward the exact tin you need.
Cleanup & Safety
Because our recommended finishes are oil-based, cleanup requires a little extra care.
Cleaning Brushes: Clean your brushes and tools immediately after use with mineral turpentine. Follow up by washing them in warm, soapy water, then rinse thoroughly.
⚠️ Crucial Rag Safety: Oily rags generate heat as they dry and can spontaneously combust (catch fire) if left crumpled up. Never throw them straight into the bin!
Safe Disposal: To safely dispose of oil-soaked rags, lay them completely flat outside in a well-ventilated area until they are completely dry and stiff. Alternatively, soak them in water inside a sealed metal container before placing them in your regular household rubbish.
Oil-Based Finishes (Our Recommendation)
How it Works: Penetrates deeply into the wood fibers to nourish and protect from the inside out.
Pros
• Highly nourishing for the timber
• Does not peel or flake over time
• Easy to re-apply (just clean and recoat)
• Enhances the rich, natural grain
Cons
• Takes much longer to dry (up to 24 hours)
• Clean-up requires mineral turpentine
• Stronger odor during application
Water-Based (Acrylic) Finishes
How it Works: Forms a protective, flexible film on the surface of the wood.
Pros
• Dries very quickly (often in 1-2 hours)
• Retains color well with high UV resistance
• Easy soap and water clean-up for brushes
• Low odor
Cons
Generally not as resistant to weather conditions and less durable.
• Can peel, blister, or flake if moisture gets trapped underneath
• Harder to repair (often requires heavy sanding before recoating)
Why do we choose to use oil based?
We have tried many oils and stains, both traditional oil based and water based.
We have found that while the water based products are great, easy to apply , low odor and fast drying they simply don't last as long outdoors or stand up over time.
There are new products on the market that promise to be more durable and use newer technology. So we often try these and in time if these products begin to out perform the oil based for timber protection we will be keen to be using them.
We do use and reccomend water based on indoor timber products all the time.